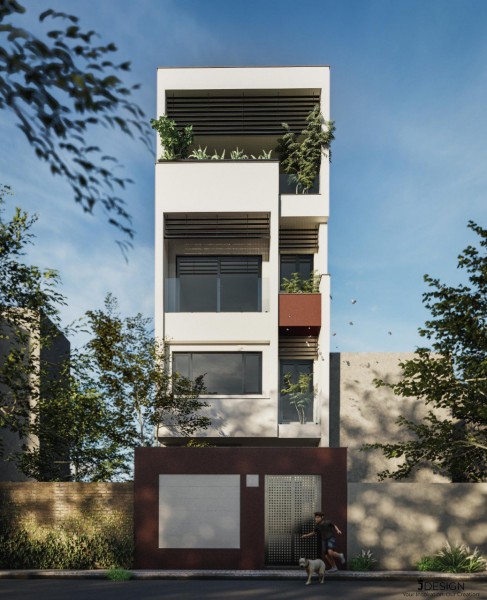
- Protect the aesthetics of the building: The building is well waterproofed, when it rains, it will be difficult for rainwater to penetrate into the wall and make the wall wet, moldy, covered with moss...
- Finished building materials have tiny holes on the surface. These small holes are very susceptible to moisture, allowing water to seep into the wall, leading to a cracked wall. Therefore, it is necessary to have a waterproof layer.
- Helps save construction costs. Compared to a wall that is easily absorbed by water, mold, cracks, etc. You will have to paint over and over to cover the cracks and stains. Waterproofing helps your building to be protected for a long time and without having to spend money on repairs.
- Construction method for waterproofing by torch bitumen membrane
- Waterproofing measure with self-adhesive bitumen membrane
- Polyurethane waterproofing construction methods
- Construction waterproofing with cement-based materials
- Construction method for waterproofing with additives Sika Latex
- Construction method for waterproofing by using epoxy paint
- Method of waterproofing with water-stop tape
- Construction method for waterproofing with Epox-based grout adhesive
- Chisel the concrete on the surface of the floor, the excess base of the wall to expose the structural concrete surface with hand tools: hammer, chisel, sharp tip...
- Grind clean, flat floor surface
- Mix cement mortar with Sika Latex TH solution, fill in chipped wall positions, concave and missing concrete positions on the floor surface.
- Mix the waterproofing chemical set according to the rate indicated on the package, (1 set includes 1 bag of powder and 1 can of solution)
- Mix well until the mixture reaches a paste, the powder is completely dissolved
- Attach the waterproof net at the base of the wall
- Use a brush to sweep the mixed solution onto the mesh, making sure the mesh is attached to the base of the wall
- Apply the solution on the wall about 30cm above the floor surface, for the wall of the shower area, apply the solution to the wall 2m high above the floor surface.
- After sweeping the base of the wall, proceed to sweep the floor surface. Requirements: the waterproof layer of Sika is evenly swept, sealing the floor surface area
- Scan all the positions of the base of the wall and floor surface for the 2nd time
- Pumping water onto the surface of the floor that has just been waterproofed, check (make sure the waterproof surface is dry)
- After soaking in the test water, smooth the surface of the waterproofing layer with cement mortar.
- Note that during the construction process, do not scratch, scratch or puncture the surface of the waterproof layer to ensure effective waterproofing.
- Mix Sika Grout self-flowing cementitious mortar, pour layer 1 around pipe neck
- Wrap the expansion bar around the neck of the tube
- Note the blooming chapter bar hugs the neck of the tube
- Pour the self-flowing cement mortar Sika Grout layer 2 to cover the chiseled concrete
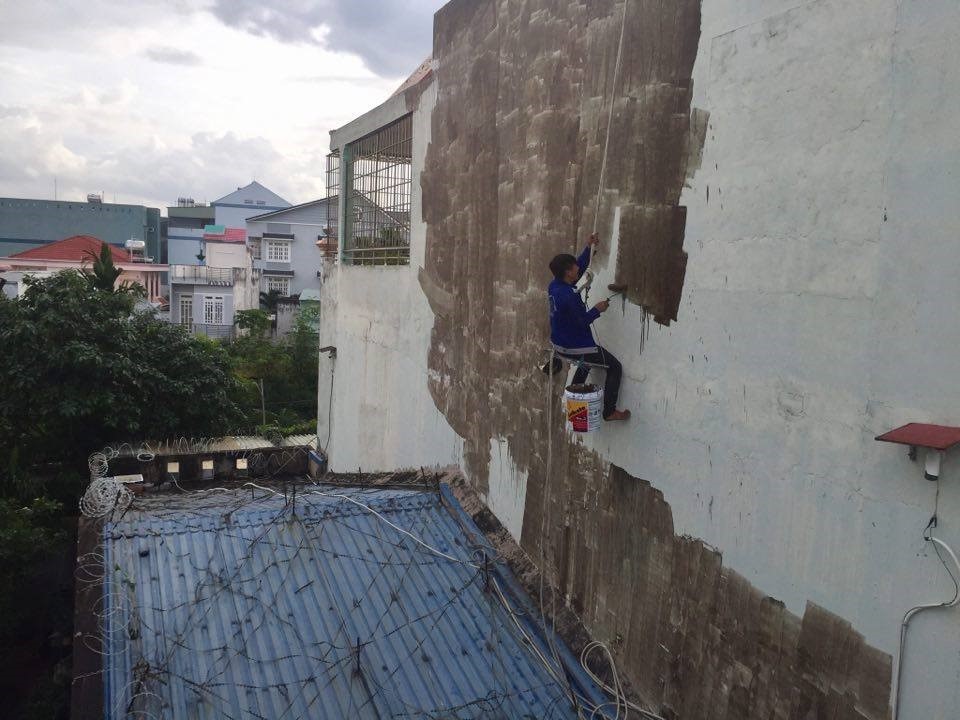
- First, the worker must use a machine or manual method to remove all the paint layer on the wall that is absorbent. Where there is a phenomenon of weak walls, they should be chiseled out and plastered to make sure.
- The next step in the wall waterproofing process is to use sandpaper or a specialized wire brush to clean and smooth the surface. Then proceed to moisten the wall surface.
- Clean the steps as above. If so, treat to remove old blistered paint layers.
- Spray 2-3 layers of Proseal MS on the outer wall or Kova CT-11A.
- In step 2, shake well and pour Proseal MS or CT 11A solution into a low-pressure sprayer.
- Continuously spray 2-3 layers of waterproofing on the surface of the wall, 1 layer each time and no more than 5 minutes apart. When you finish spraying one wall, you can move to another wall. These waterproofing agents dry very quickly, so if left for a long time, they will not spray anymore
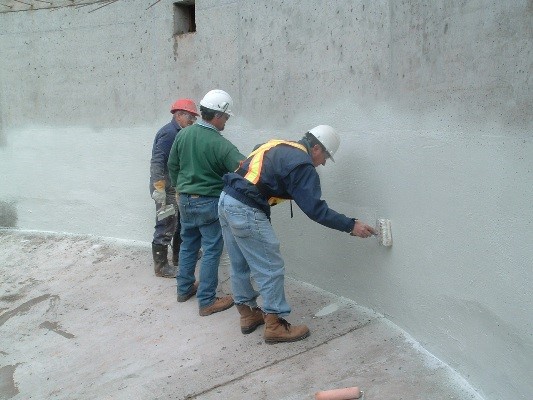
- Roll 1-2 more layers of original acrylic waterproof paint such as Sika or Epoxy, rolling like a normal paint roller.
- Clean dirt, excess mortar, moss, impurities on the surface, use a hammer drill to chop excess mortar. Then use an iron grinder to clean the surface, creating friction.
- Rinse and let the surface dry. Use a blower to blow away dust from the surface.
- If there is a large crack, use a repair mortar with additives to fill it. Saturate the surface with clean water before applying waterproofing coats.
- Start plastering and prepare a flat wall surface to reinforce the base of the wall without roughness.
- Carry out sweeping the entire base of the wall between the floor and the brick wall built with Fosmix Primer + cement + water. Then measure and cut the Fiber glass mesh and stick it on the base of the roof floor, wait for the mesh to be fixed on the lining before applying waterproofing.
- Use a roller to roll the entire roof floor with Fosmix Primer (Tech Dry) at the rate of 1kg Fosmix Primer + 1 liter of water, with 1kg Fosmix Primer used for 10 -12m2. Fosmix Primer has the effect of both penetrating deep into the concrete base and creating adhesion with the waterproof membrane, the reaction of silicon fills the pores of the concrete, solidifies the concrete, prolongs its service life, and helps welding. Attach concrete cracks to 0.3mm.
- Use a strong hand drill to mix the Fosmix Flex 250 cement elastic waterproofing membrane. Put the liquid ingredients in a clean container, turn the mixer on, and slowly add the powder ingredients, mixing for 3 minutes until when a homogeneous mixture is obtained.
- Apply 2 coats of Fosmix Flex 250 waterproofing membrane mixture with a brush on the surface of concrete floors, walls, technical boxes that have been meshed. Then sweep the second layer perpendicular to the previous layer to avoid air bubbles, about 2-3 hours later continue to apply the second layer. Use 1.8 - 2kg/m2/2 layers when dry with a film thickness of 0.8 - 1mm.
- After 24 hours of construction completed, the waterproofing layers were dry, soaked in water for 24 hours and then accepted the waterproofing work.
- After the water has receded, let the waterproofing layer dry after 2-3 days and then proceed to roll the waterproof mortar layer with 1 liter of Fosmix Liquid N800: 20 kg of cement for protection.
- TCVN 9065:2012 – Waterproofing materials. Bitumen emulsion paint TCVN 9974:2013 – Sealing material for joints and cracks, hot construction, for cement concrete pavement and asphalt pavement.
- TCVN 9345:2012 – Concrete and reinforced concrete structures – Technical guidelines for crack prevention under the influence of hot and humid climate.
- TCVN 5718:1993 – Reinforced concrete roofs and floors in construction works – Technical requirements for waterproofing.
- Based on the above standards, we can also classify materials, construction methods and principles of waterproofing to meet technical requirements.
ROLE OF WATERPROOF CONSTRUCTION
In countries with hot and humid climates, waterproofing is always an extremely important step. This work acts as a barrier to protect the building from adverse environmental impacts. If done well, this will ensure the aesthetics and quality of the work. In Vietnam, too, every building needs to be waterproofed effectively if you don't want to let water cause much damage in the long run. So how to effectively waterproof new construction? Let's find out with JDesign Co., LTD through the following article!
1. Why should waterproof construction?
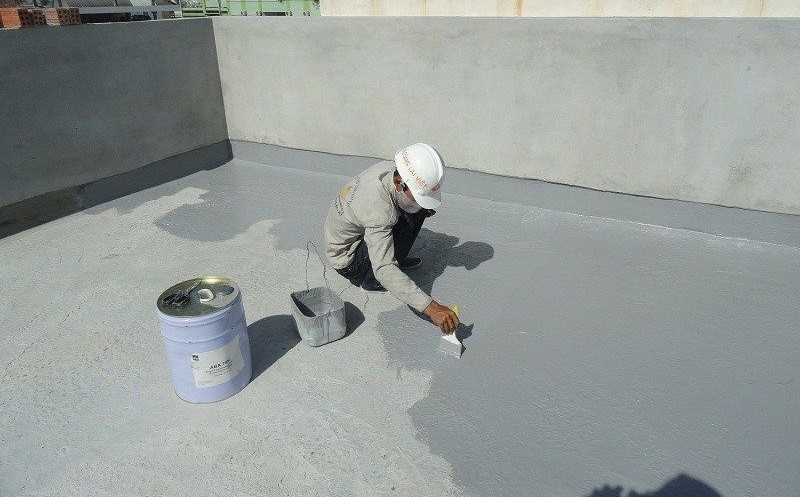
2. Current effective waterproofing measures
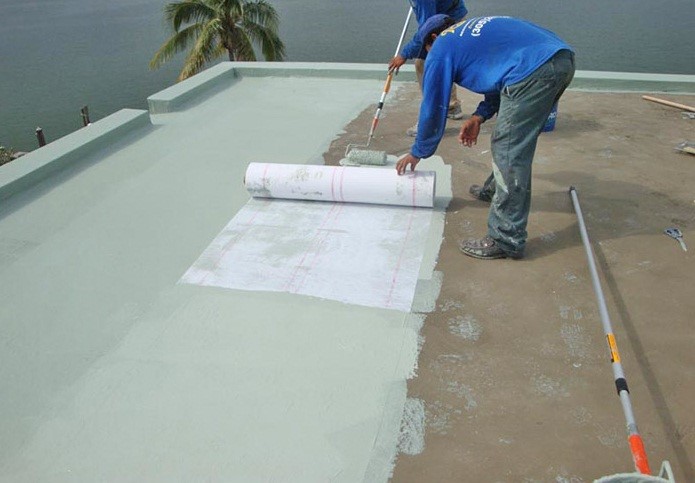
3. Waterproofing construction process
This article will talk about 04 basic waterproofing processes using Sika/Kova waterproofing materials: floor waterproofing, floor-penetrating pipe neck waterproofing, wall waterproofing and roof waterproofing.
3.1. Floor waterproofing process
- Step 1: Prepare the ground
- Step 2: Carry out waterproofing
- Step 3: Soak in water, take over, check
- Step 4: Apply protective layer
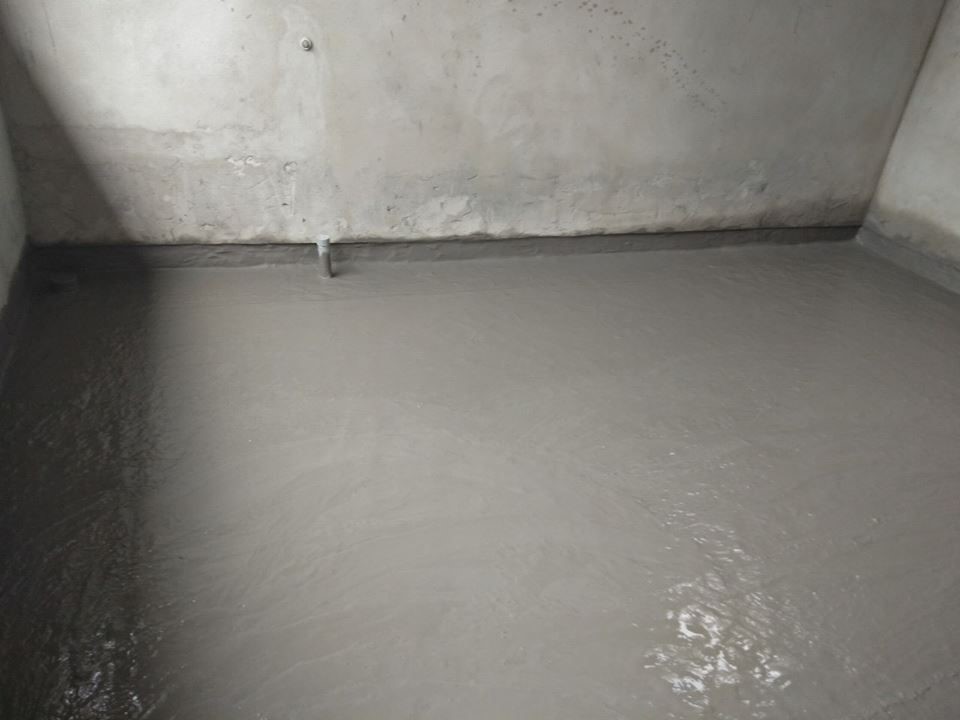
3.2. The process of waterproofing the neck pipe through the floor
- Step 1: Expand the floor around the pipe neck
- Step 2: Pour the first layer of self-flowing cement mortar around the neck of the pipe
- Step 3: Wrap the blooming chapter bar
- Step 4: Pour 2 self-flowing cement mortar
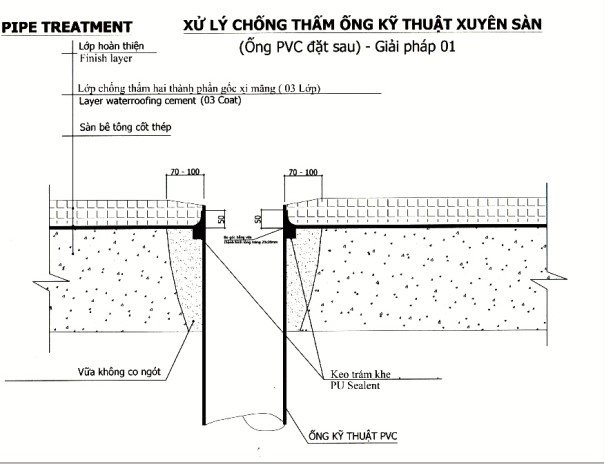

3.3. Wall waterproofing process
- Step 1: Prepare the surface
- Step 2: Carry out waterproofing
*Some suggestions for indoor wall waterproofing
Often plastered walls will shrink when dry and form crow's feet cracks. Water will seep through these openings and cause mold to the walls. Therefore, when working, workers must pay attention to sweep pure cement all over the wall after plastering is complete. This is also a must-do wall waterproofing procedure if you want to be safe from the roof.
When the cement particles have been swept to fill the holes and gaps after plastering. They will self-assemble into a non-cracking block so it adds extra waterproofing. In addition, if you want to remove the black color of the cement, just add lime water mixed with white cement.
3.4. Waterproofing process for roof, terrace, balcony
- Step 1: Prepare the surface
- Step 2: Carry out waterproofing
4. Standard of waterproof material
Here are some standards to consider in order to make the construction process more technical:
5. Popular types of waterproofing materials used in construction
Waterproof paint: Waterproof paint is commonly used and is usually applied in the last step after the rough part of the work has been completed. This material has the effect of preventing the infiltration of water from the environment into the building. It can be rainwater from above, groundwater in the ground or it can also be moisture in the air. Besides being known for its main use is waterproofing. The waterproof paint is also used as a decorative paint. Increase the aesthetics and beauty of the building. Items where waterproof paint can be applied. Including: walls, ceilings, floors... on vertical or horizontal surfaces.
There are many good, high-quality waterproof paint or glue materials that you can refer to: Black dragon waterproof paint, Dulux paint, Kova paint, Jotun paint, DOCONU waterproof paint...

Waterproofing additive: This is an additive added during waterproofing construction. Especially for construction in the concrete waterproofing category. Waterproofing admixtures help prevent and reduce the ability to transmit moisture from within the concrete or through the concrete. Additives are usually in the form of powder, paste or liquid… Typically, there are some typical product lines such as: Sika Latex, Sika Top Seal, ...

Waterproof Membrane: The components of the waterproofing membrane are prefabricated, easy to transport and easy to mix and apply. Has good adhesion to solid surfaces. Excellent water resistance for both inner, outer or outer walls... In addition, the waterproof membrane is also anti-corrosion, safe for users...

6. Construction standards for waterproofing
Waterproofing is the work that helps to prevent the maximum penetration of water through the concrete surface under certain conditions, so if the construction standards for waterproofing must meet the following requirements:
Surface waterproofing standards
Perform water and moisture diversion. Bitumen sheets, waterproof paint are products that are applied for this principle, in essence, the surface to be waterproofed is completely isolated from the source of water spread. If the bitumen membrane or sheet is punctured, it will cause normal water penetration of the building.
Full block waterproofing standards
Prevent water penetration of the entire interior, mix waterproof materials so that the whole block can be completely waterproof. This method is applied in the process of completing cement mortar, during the construction phase in the area of ŌĆŗŌĆŗtoilet floors, roof floors, and basements.
In this method, the effectiveness of preventing water is extremely high, but the price is not expensive, so customers should consider before implementing waterproofing for your home.
Standard waterproofing insert, fill
After being sprayed, sealed on the surface, the waterproof material will penetrate deep inside, insert and fill the capillary vessels, the gaps between the aggregate particles, making the material become water resistant, resistant to water. warm.
This method makes the surface absolutely water resistant, the required thickness is at least 5mm and also depends on the composition and material.
Hopefully after the above article, you will understand more about the standards and construction process for waterproofing your project, helping the building to be durable and beautiful over time.
With JDesign Co., LTD, waterproofing is always a top priority when executing projects that require high quality, withstand different harsh conditions, the common purpose is to bring comfort, comfortable to use, save you the most time and money!
------------------------------------------------------
JDesign Co., LTD - PROVIDE PACKAGE SOLUTION RELATED TO INTERIOR/EXTERIOR DESIGN AND CONSTRUCTION!
Contact us now to schedule a Free Consultation/Survey/Quote!
Product warranty up to 03 years – Commitment to product maintenance for life!
For more details please contact:
- Email: contact.jdesignvn@gmail.com
- Tel: (+84) 866.648.298
- Website: https://j-design.vn/
- Fanpage: https://www.facebook.com/jdesignvn
- Corporate Office: 03/50 Nguy Nhu Kon Tum, Nhan Chinh, Thanh Xuan, Ha Noi
JDesign - Your Inspiration. Our Creation!
#jdesignvn #interior #interiordesign #interiordeco


