

-
Chisel concrete on the surface of the floor, the base of the wall from 15-20cm
-
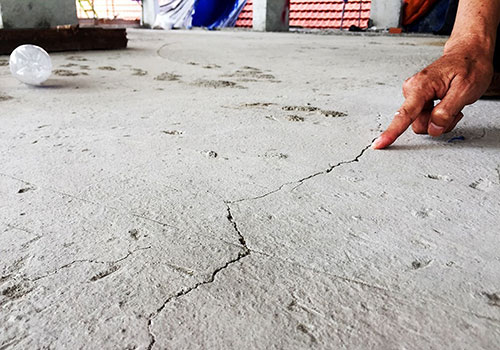
Cleaning dirt, filling cracks, dents, ... (pay attention to clean the neck of the pipe)
-
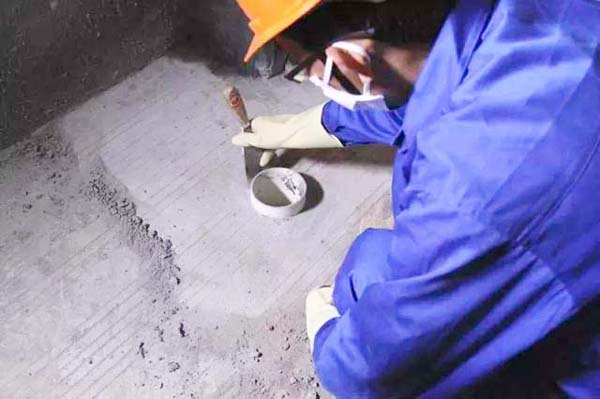
Apply a layer of Primer adhesive paint (use Bitumen liquid paint)
-
Apply the Bitumen self-adhesive waterproofing membrane to fit the dimensions of the wall and floor. Pay attention to where you have to humidify. If too little moisture will be delaminated, too much will be blistered
-
Peel off the protective paper, then spread the film on the floor and press firmly to adhere
-
Make sure the surface is clean, free of dust or grease
-
Protrusions need to be chiseled out and leveled with a mortar mixed with additives
-
Fill the pipe neck with a special waterproofing mortar
-
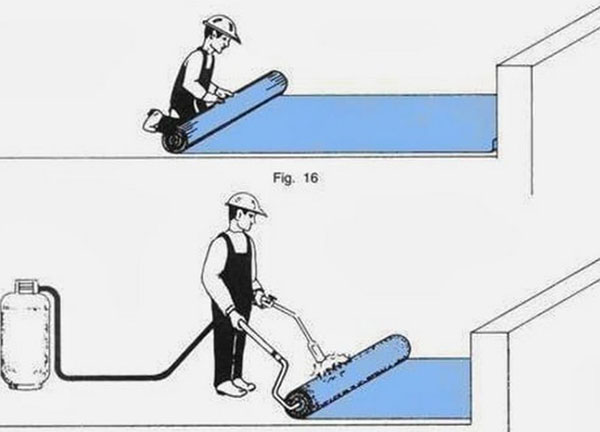
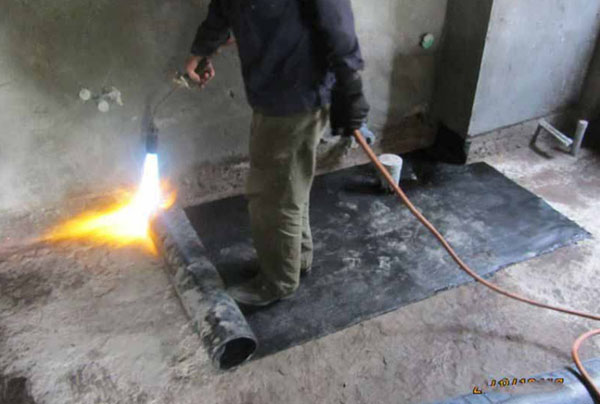
Use a gas torch to heat the floor
-
Apply bituminous primer to the floor surface
-
Use a hot torch to burn the surface of the sheet so that the bitumen melts evenly and then sticks to the floor. Note: wherever the liquid melts, roll the film there
-
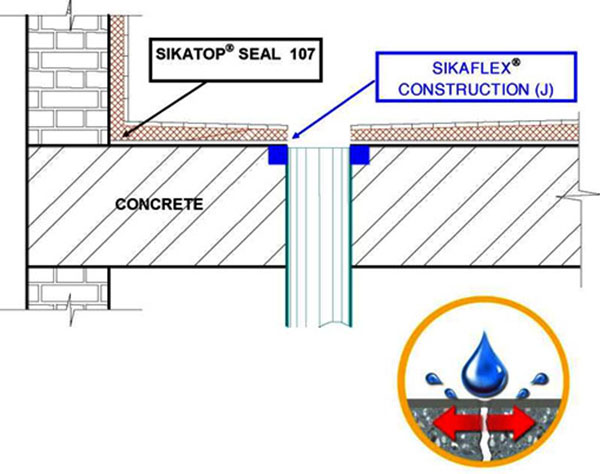
In places where the neck of the pipe needs to be glued carefully to avoid water seeping around the neck of the pipe. It is best to use an expansion bandage to wrap it around to prevent water from leaking out
-
At the base of the wall, stick it to about 15-20 cm high to ensure that the contiguous position between the floor and the base of the wall is tight, and there are no gaps that cause leaks.
-
After the application of the hot torch film is completed, apply a layer of sand cement to the surface to protect the waterproof membrane.
-
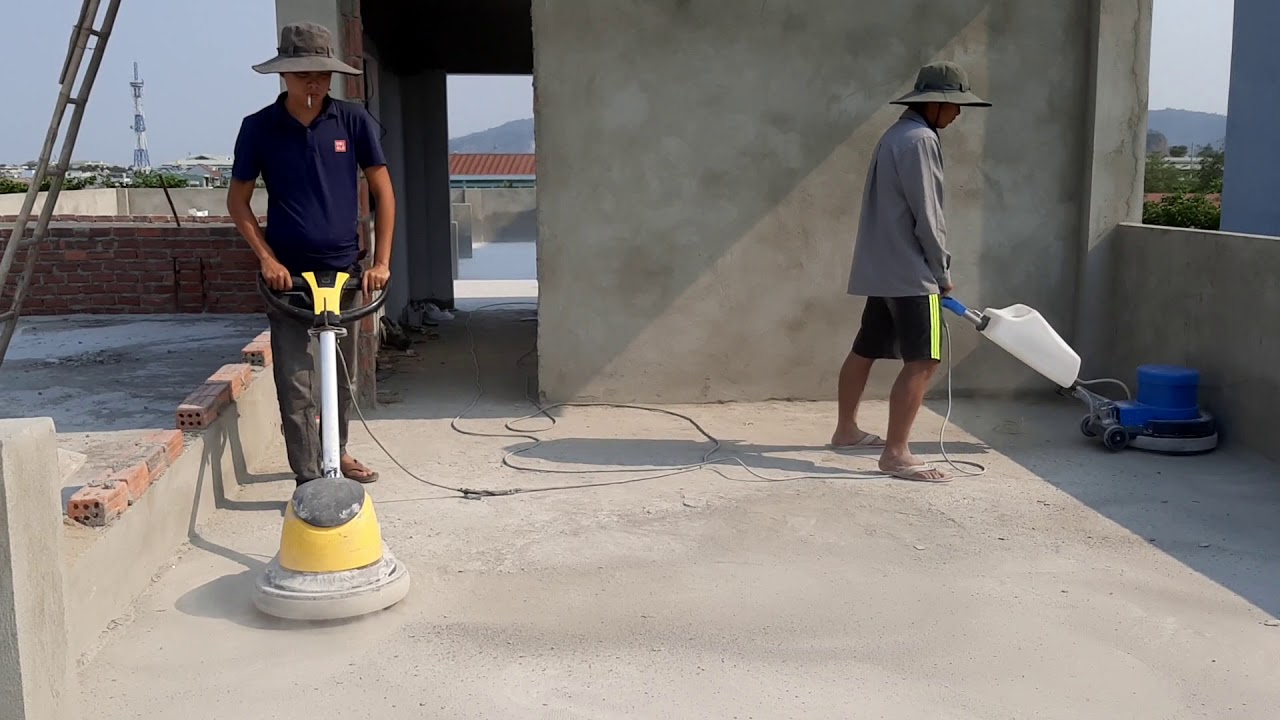
Use the drill, grinder... to build the ground
-
Ensure the construction surface is clean, free of grease, impurities after being opaque.
-
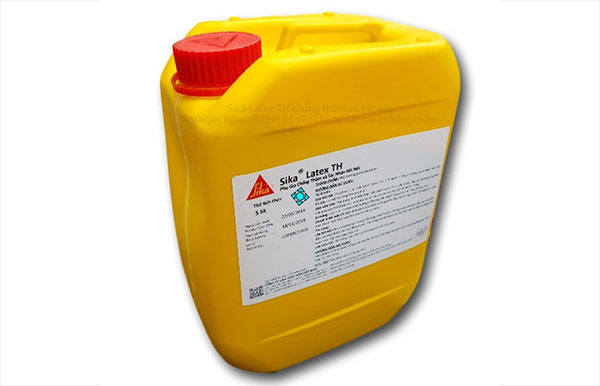
If there is a requirement for slope creation, apply Sika Latex TH on the concrete surface (Sika Latex TH is diluted with water in the ratio 1:1 and mixed with concrete).
-
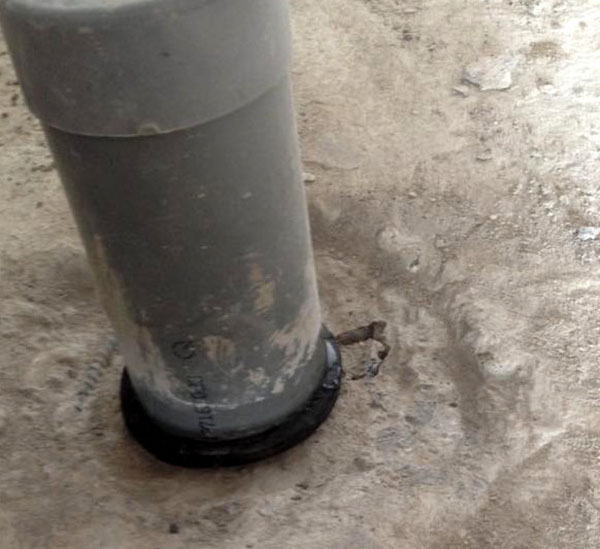
Pipe neck treatment: Use 1 of 2 ways. Sika Flex pump seals the gap between the pipe neck and the concrete floor or wraps Sika SwellStop expansion tape around the toilet floor drain pipe
-
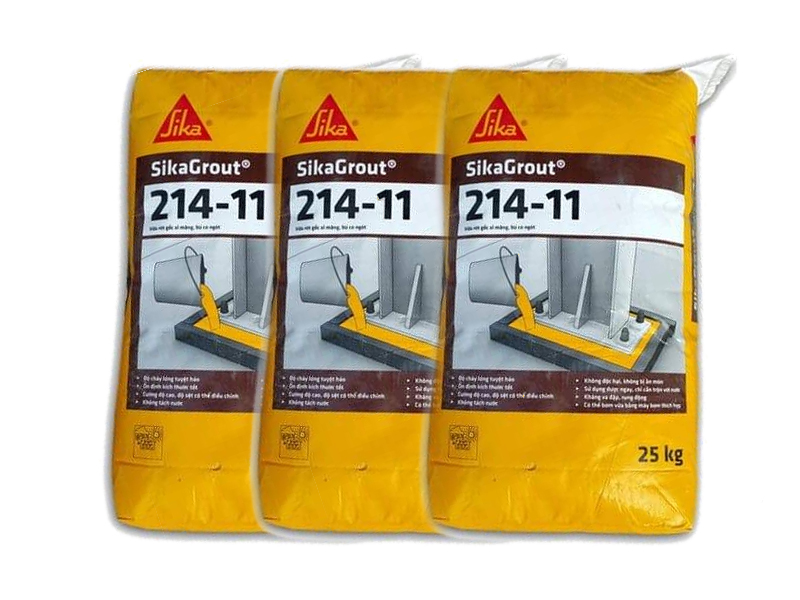
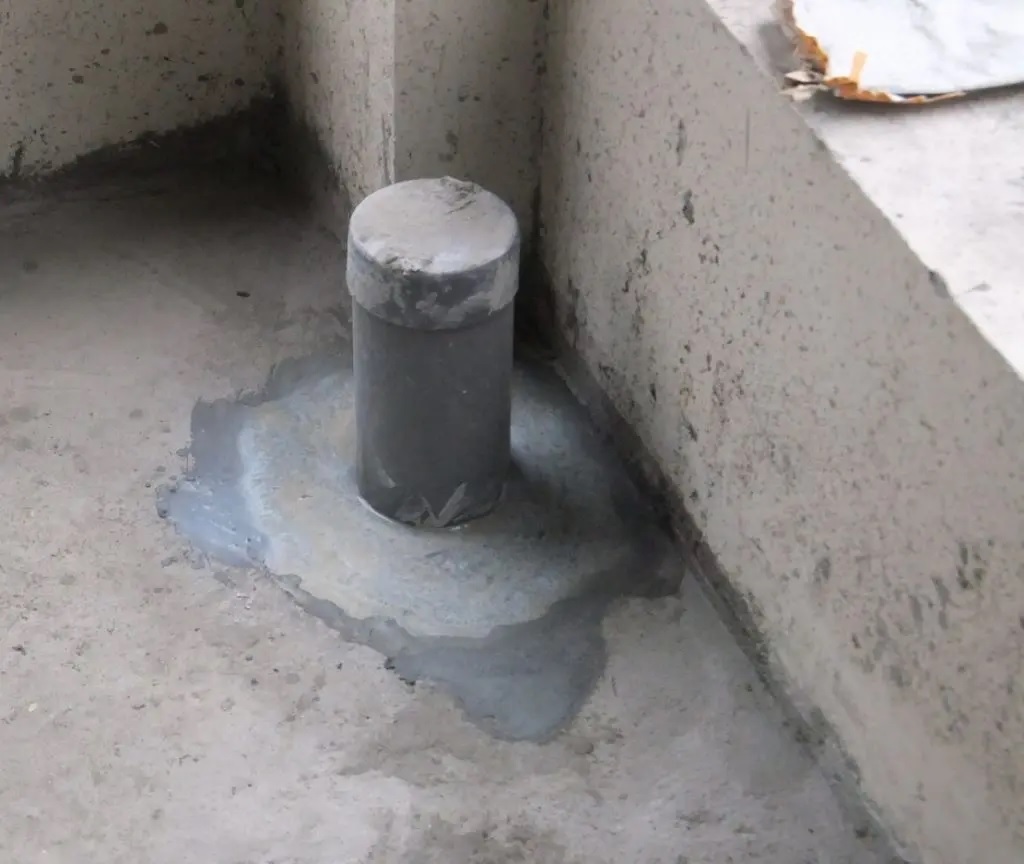
Pour non-shrink grout with a mixture of SikaGrout 214 -11 and clean water around the neck area treated above, smooth and cure as usual
-
Bound corners and concrete floors with a mixture of mortar and Sika Latex to facilitate the construction of grids and increase high bonding ability
-
Apply primer with a mixture of water + cement + Sika Latex according to the standard ratio. Note: apply on the base of the wall 20cm to 40cm depending on the floor height
-
Apply the mesh, covering the entire floor surface. Wait for it to dry for about 4-6 hours
-
Mix Sika Top Seal-107, add the liquid component first, then the powder component, using a dedicated stirrer until a homogeneous mixture is obtained.
-
Moisten the entire floor, apply Sika Top Seal-107 to the base of the wall first, then to the floor surface
-
Wait for 4-6 hours to dry, then proceed to apply 2nd layer of Sika Top Seal-107 rated layer (3kg/2 layers/m2)
-
Eraser, clean the background surface, remove sand, ...
-
Good surface preparation is critical to achieving optimum quality
-
Primer: After cleaning and treating the surface, we proceed to prime it. This step is the step to create a semi-adhesive and contribute to a smoother coating surface. Primer can use 2 different methods to apply this step.
-
Depending on different financial and quality requirements, different methods are used. Use a roller to roll the floor flat or use a spray gun to spray Epoxy primer
-
Paint base: This step uses epoxy paint and specialized stone powder. This mixing ratio requires a standard ratio. In order for the mixture to reach the standard, it is required to stir the mixture well. Mixing time is about 3-5 minutes. And the mixing tool requires to meet the standards to be able to produce a standard product. Waiting time for this layer to dry is about 6-8 hours. Drying time depends on many factors such as temperature, humidity, etc.
-
Coating: Apply epoxy coating
Step 3: Acceptance and water testing.
2.2. Sikalastic 598 floor waterproofing process:Step 1: Prepare the surface:
-
Coating: Apply Epoxy coating
-
Use a blower to clean the dust on the floor surface and spray it with a high-pressure water jet

-
Use a cutter to cut 1-2 cm deep where the wall is adjacent to the floor around the roof
-
Blow off the cut dirt
-
Apply special glue along the cut around the roof and cracks. Pay attention to inject glue to fill the cutting slot and create a slope on the base of the wall
- Plastering mortar to create slopes and thin plastering
- Apply Primer primer. Primer has the effect of both penetrating deep into the concrete base and creating adhesion with the waterproof membrane, the reaction of silicon fills the pores of the concrete, solidifies the concrete, prolongs its service life, and helps to seal. concrete cracks to 0.3mm. During the construction process, it is recommended to use a ruler of the wet paint film to control the thickness of the waterproofing film to avoid the case where it is too thick or too thin.
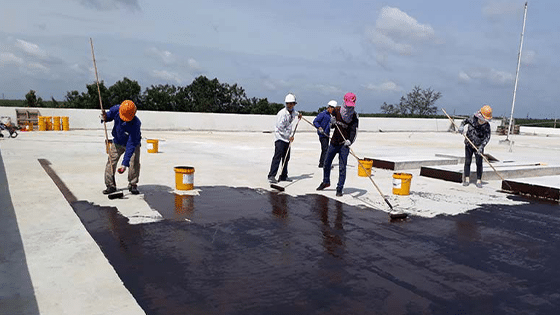
- Apply 3 layers of Sikalastic 598 . waterproofing membrane
- First coat with Sikalastic 598 mix
- Sweep over the base of the wall, cracks, continue to stick the reinforced glass mesh, then apply the next layer to overlap the mesh.
- Apply 2 coats of mixture by roller on the concrete floor surface. Then sweep the next layer perpendicular to the previous layer to avoid air bubbles, the first layer is dry and continue to apply the second layer. Use 1kg/1m2/layer.
- After 24 hours of construction, the waterproofing layers were dry, soaked in water for 24 hours and then accepted the waterproofing work.
- Clean dirt, excess mortar, moss, impurities on the surface
- Use an iron grinder to clean the surface, creating friction
- Rinse and let the surface dry. Use a dust blower to blow away the dust on the surface
- If there is a large crack, use a repair mortar with additives
- Start plastering and prepare a flat wall surface to reinforce the base of the wall without roughness
- Carry out sweeping the entire base of the wall between the floor and the brick wall built with Fosmix Primer + cement + water. Then measure and cut the Fiber glass mesh and paste it on the base of the roof floor, wait for the mesh to be fixed on the lining before applying waterproofing.
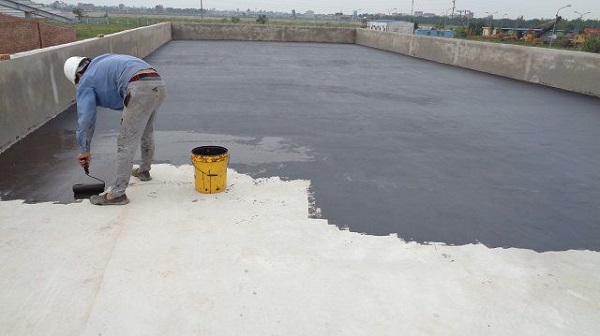
- Use a roller to roll the entire roof floor with Fosmix Primer (Tech Dry) at the rate of 1kg Fosmix Primer + 1 liter of water, with 1kg Fosmix Primer used for 10 -12m2. Fosmix Primer has the effect of both penetrating deep into the concrete foundation and creating adhesion with the waterproof membrane, the reaction of silicon fills the pores of the concrete, solidifies the concrete, prolongs its service life, and helps to weld. mount concrete cracks to 0.3mm
- Use a powerful hand drill to mix the Fosmix Flex 250 cement elastic waterproofing membrane. Put the liquid ingredients in a clean container, turn the mixer, and slowly add the powder ingredients, mixing for 3 minutes until when a homogeneous mixture is obtained
- Apply 2 coats of Fosmix Flex 250 waterproofing membrane mixture with a brush on the surface of concrete floors, walls, technical boxes that have been meshed. Then sweep the second layer perpendicular to the previous layer to avoid air bubbles, about 2-3 hours later continue to apply the second layer. Use 1.8 - 2kg/m2/2 layers when dry with a film thickness of 0.8 – 1mm
- After 24 hours of construction completion, the waterproofing layers have dried, soak for 24 hours and then test the waterproofing work.
- After the water has receded, let the waterproofing layer dry after 2-3 days and then proceed to roll the waterproof mortar layer with 1 liter of Fosmix Liquid N800: 20 kg of cement to protect.
WATERPROOF NOTES IN SPECIAL AREA
Construction works in general or houses in particular always need to pay attention to issues related to warranty and maintenance work, especially the quality of "Lifetime" of the work. In particular, waterproofing is an extremely important step that you should pay attention to from the beginning and cannot be ignored. Because it is decisive for long-term aesthetics as well as comfort and longevity of the building during use. Especially the specific essential areas such as toilets or roof floors, terraces... Therefore, to better understand the importance of waterproofing for these areas, let's join JDesign Co., LTD Learn about “NOTES IN THE PROCESS OF WATERPROOF CONSTRUCTION IN SOME SPECIAL AREA”
I. Reasons for waterproofing in specific areas:
- Toilet:
+) This sub-work system plays an extremely important role in life. Along with it, this is also the area that is most prone to problems. Typically, the situation of wall and ceiling seepage in related areas. Because the toilet is a place where there is often water and high humidity. After a long time of use, prolonged waterlogging and stagnation will lead to damage to the waterproof protection layer, the original waterproof layer, causing the phenomenon of floor seepage on the walls, down the ceiling in the relevant surrounding area.
+) In addition, the environment in the toilet is often humid, so it is easy to create conditions for moss and bacteria to grow. Make the floor become more slippery, dangerous when moving and especially cause the smell of moisture, mold, not good for human health.
- For roof deck, terrace:
+) This is the part located on the top and in direct contact with the outside natural environment, protecting the overall construction from top to bottom. Therefore, waterproofing for roof floors and terraces is extremely important to avoid leaks and seepage into the ceiling leading to the phenomenon of the ceiling below being blistered and wet.
+) If the roof floor is soaked with water, water will flow from the roof to the wall and ceiling below and cause mold, yellowing, and cracking of the wall. More dangerous is that this amount of water is large enough and for a long time can seep into the area with electrical outlets and cause short-circuiting of electrical equipment, causing electrical insecurity and fire and explosion prevention, affecting the lives of people. your family's life.
=> If you skip the waterproofing step at the beginning or don't pay attention to waterproofing, the building will deteriorate quickly, putting you at risk of having to dismantle, repair, and cost a lot of time. both money. In addition, there are risks to quality as well as safety during use. Therefore, the thorough waterproofing treatment of toilets or roof floors, terraces is extremely necessary.
II. Methods and processes of waterproofing:
A. Waterproofing method:
1. Toilet waterproofing method:
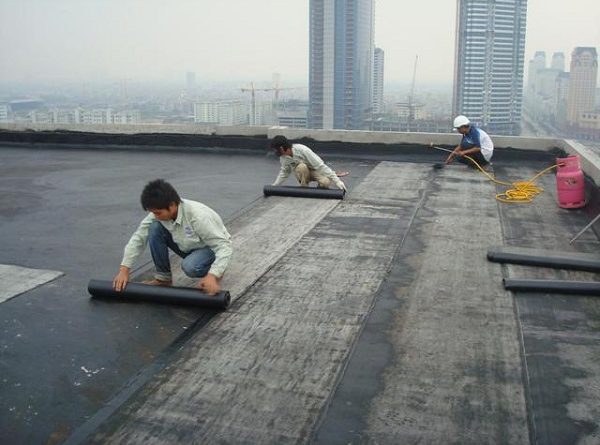
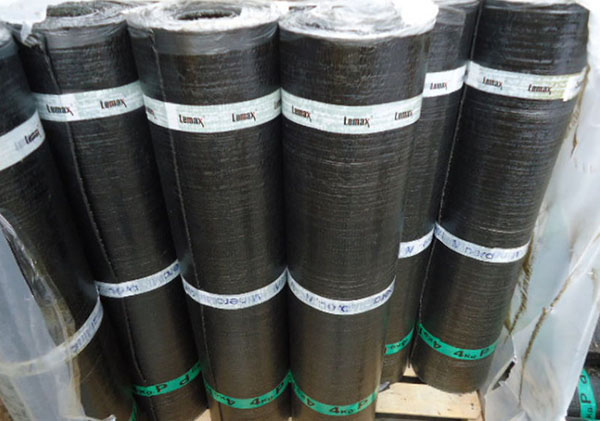
- Use waterproof membrane: This is a product made from synthetic polymer in rolls or sheets. This material has very good waterproofing properties. Therefore, it is often used in waterproofing construction for construction works or as a diaphragm wall separating export processing zones, liquid storage facilities, oil refineries, etc. and residential areas.
Currently, there are two common types of waterproofing membranes: self-adhesive membrane and torched membrane. The advantages of waterproofing membranes in general are good waterproofing ability, high durability.
- Use of additives: Additives in construction waterproofing are additives used to prevent and minimize the transmission of water vapor and moisture in the form of liquid or water vapor released from inside the concrete or from the outside. outside through the concrete. Waterproofing additives are often applied in constructions such as walls, roof floors, toilets, terraces, etc.
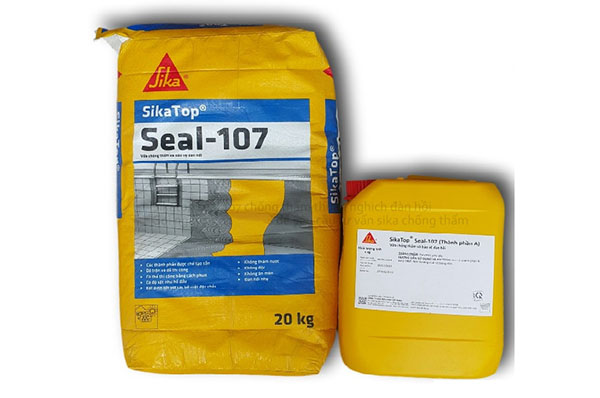
There are many types of waterproofing additives, including Sika, which is an additive with good permeability and crystallization for construction. Although it has just appeared in Vietnam for a short time, Sika has become a popular, trusted and popular material thanks to its advantages, good waterproofing effect, sustainability, and ease of implementation.
2. Waterproofing method for roof floor:
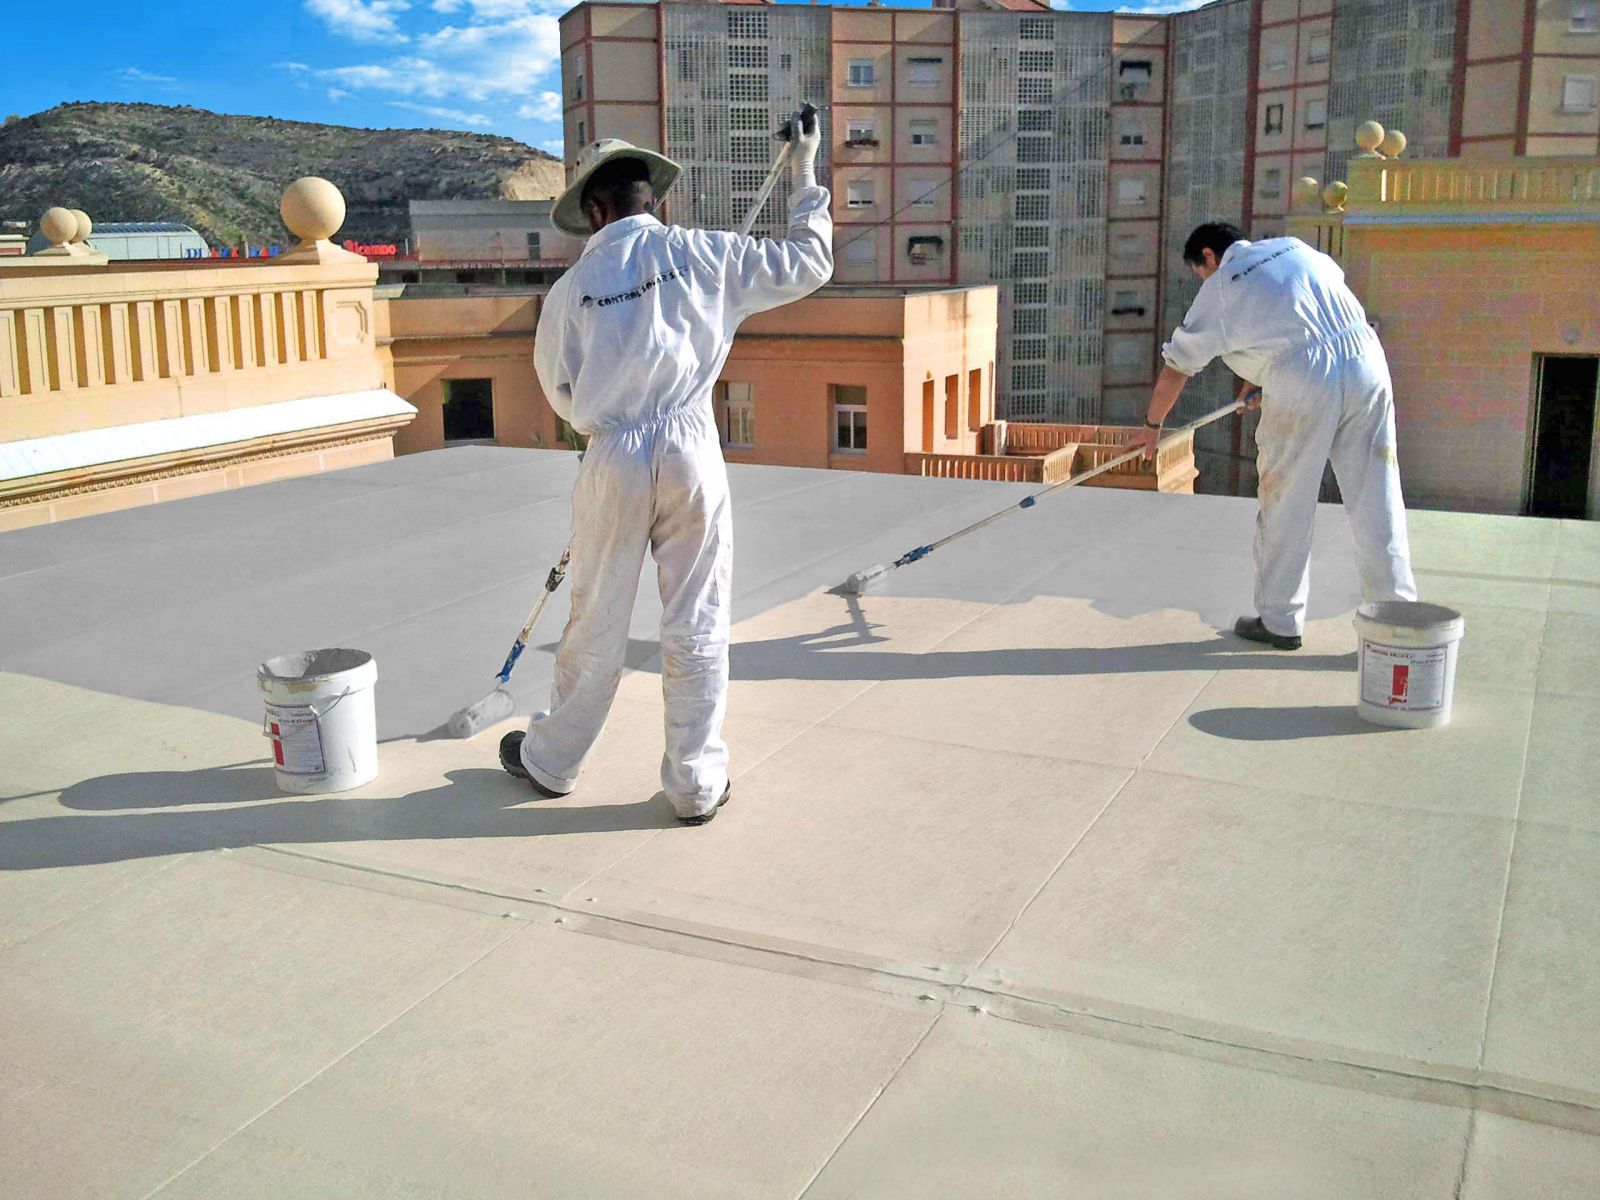
- Using Epoxy Paint: Currently, most roof waterproofing with paint materials is the method used by many waterproofing experts. The reason why waterproof paint not only makes the structure durable and waterproof, but also creates aesthetics for the building.
Epoxy paint is a line of industrial paints made from epoxy resin and polyamide solid. Epoxy coating, after fully curing, creates a solid, seamless concrete floor protection layer, increasing the high brightness and aesthetics of the floor. In addition, it is also resistant to alkalis, acids and solvents.
This paint is specially used for concrete floors of swimming pools, basements, roof decks, parking lots... to completely prevent water infiltration inside the works.
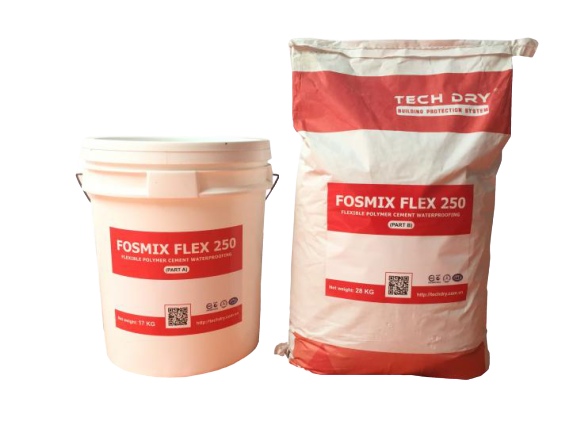
- Use Fosmix Flex 250: A two-component polymer modified polymer cementitious waterproofing membrane manufactured in accordance with EU standards, provided in a form that can be mixed as soon as needed. Consisting of cement, hardening additives are provided in the form of powders along with a polymer solution composition to create high flexibility, elasticity, and strength. Can be applied on wet surfaces, no primer required.
- Using Sika: Similar to waterproofing toilets, Sika is also a type of waterproofing that is trusted by everyone and used to waterproof many specific areas including the roof floor.
B. Waterproofing construction process:
1. Toilet waterproofing process:
1.1. Use waterproof membrane: There are two types of self-adhesive membrane and torch-heat membrane.
– Toilet waterproofing process with self-adhesive membrane:
Step 1: Prepare the construction surface
 Step 2: Carry out waterproofing:
Step 3: Water test and acceptance test.
– The process of waterproofing the toilet with a hot torch membrane:
Step 1: Clean and prepare the surface to be waterproofed:
Step 2: Carry out waterproofing:
Step 3: Water test and acceptance test.
Note: With the necks of pipes, it is necessary to stick them carefully to avoid water seeping around. It is best to use an expansion gasket wrapped around to prevent water from leaking out. At the base of the wall, stick it to about 15-20cm high, ensure that the contiguous position between the floor and the base of the wall is tight, there is no gap causing leakage.
1.2 Using Sika waterproofing additives:
Step 1: Clean and prepare the construction surface:
Step 2: Carry out waterproofing:

Step 3: Water test and acceptance: After 24 hours of application of the final waterproofing layer, the waterproofing layers are dry, we will soak in water for 24 hours and then conduct the acceptance test. After the acceptance test is completed, it is required to have a screed to protect against waterproofing.
Basically, the toilet waterproofing process is not too different from other items. However, it is necessary to pay attention to small positions such as pipe necks and wall bases to ensure the most optimal waterproofing effect.
2. Roof and terrace waterproofing process:
2.1. Epoxy coating waterproofing process:
Step 1: Clean and treat the surface:
Step 2: Carry out waterproofing:
.jpg)
Step 2: Carry out waterproofing:
2.3. The process of waterproofing the floor with Fosmix Flex 250:
Step 1: Clean and prepare the surface:
Step 2: Carry out waterproofing:
It can be said that waterproofing treatment in these two areas plays an extremely important role in the process of constituting a building. Waterproofing helps to improve the use of aesthetics and especially the life of the building. Above are a few effective methods and procedures for waterproofing two essential areas, the toilet and the roof deck. Hopefully, the above sharing will help you have the most comprehensive view of the waterproofing construction process and method, as well as help your building and house become more durable and beautiful.
JDesign Co., LTD is proud of being a professional Interior Design and Construction Company. We are confident to always bring to our customers the complete Interior Design and Construction solution with the best designs and the latest trends, besides the quality of completing the Project with the most reasonable time. with the most economic cost, always accompanied by the condition of product maintenance support during and after the best project handover time to customers!
------------------------------------------------------
JDesign Co., LTD - PROVIDE PACKAGE SOLUTION RELATED TO INTERIOR DESIGN AND CONSTRUCTION!
Contact us now to schedule a Free Consultation/Survey/Quote!
Product warranty up to 03 years – Commitment to product maintenance for life!
For more details please contact:
- Email: contact.jdesignvn@gmail.com
- Tel: (+84) 866.648.298
- Website: https://j-design.vn/
- Fanpage: https://www.facebook.com/jdesignvn
- Corporate Office: 03/50 Nguy Nhu Kon Tum, Nhan Chinh, Thanh Xuan, Ha Noi
JDesign - Your Inspiration. Our Creation!
#jdesignvn #interior #interiordesign #interiordecor #waterproof